So it's been several weeks since I posted any real progress on the DIY Moco front. So here is a bit of an update.
MOCO TOOLS FOR MAYA
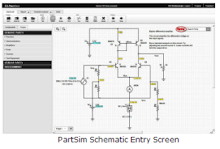
I was almost ready to release the software, but as I was going over the code I came across a few fatal flaws in my design :( The most obvious was that my position engine could only support one stepper motor! I thought it would be easy to make it support more. But due to the dynamic nature of the engine, I would have to resort to some serious multi threaded type coding and interrupts to get it to work the way I want. If you are not familiar with the Moco Tools For Maya project, here's an example
clip. This is just one piece of a much larger
idea :)
REVELATIONS
I discovered a new micro controller platform which is slowly louring me into it's multi-core ways. It's called
Propeller and it's made by
Parallax. I'm interested in it because it can run up to 8 parallel loops due to it's multi-core design. So in my case I would use one for serial communication, one for file reading and buffering and the other 6 would each have their own position control engine. Each Proc is called a "Cog" and while they function independently, they can all talk to each other as well!
If I was just reading the move data from a file, all of this would be much easier. But I am really interested in the interactive position control for all six stepper motors at the same time. This is why I'm seriously considering the propeller for this for this project.
STUDY
On the weekend I attended an Arduino Physical Computing class. It was run by a couple of guys for the
Adelaide Dorkbot chapter. Check out this
post for more info. Fun was had by all!
At my real
place of work I have be learning
pftrack. It's a piece of software used for extracting a moving 3D camera from 2D footage. It's not the funnest job I've had to do, but iteresting none the less.
I've also been learning
Perl and
Processing. Why Perl you ask? The current interface for the
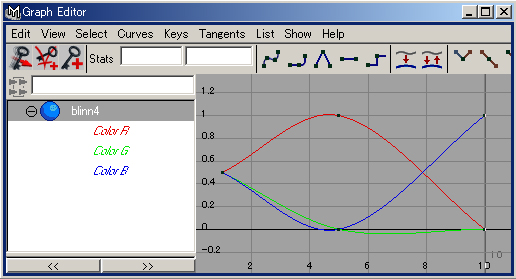
openMoco timelapse engine is written in Perl. So if I am to speak to it, I need to know it's language (well, a little :) Why Processing? It's visual! and it plays nice with Arduino and I am in the early stages of writing a generic animation editor. Like the
ones you see in most animation packages, only much simpler.
TALKS
A few weeks back I did a
talk about my motion control adventures for our local chapter of Dorkbot. It was well received.
Tomorrow night I am doing a talk for the
Australian Video Producers Association. I'm tag teaming it with a friend of mine who is a professional timelapse photographer. Check out his
work! I think it's beautiful.


